Making 3D Terrain Maps |
||||||||||
--Embellishments |
||||||||||
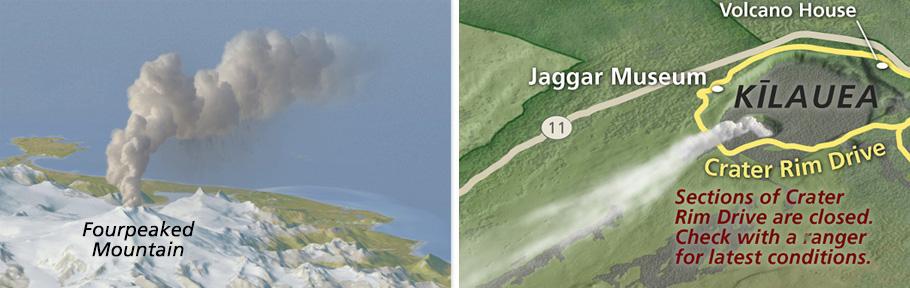
Small, unexpected details discovered by the reader can help elevate your map from "just doing the job" to top-notch. With this objective in mind, I embellish scenes by inserting photographs of things that add interest, information, or whimsy. Other embellishments come from painting with Photoshop's brush tool. And often I do a combination of both. Plumes of doom Look carefully at the volcanic plumes in the illustration below; the one on the left is in Katmai National Park, Alaska, and the other is in Hawaii Volcanoes National Park. Can you see any similarity? Both plumes derive from the same USGS photograph of an erupting volcano in Hawaii. I extracted the plume from the photo background and then modified it to meet the particular needs of each scene below. The explosive Katmai volcano ejects a gray ash plume high in the atmosphere. Below the plume, you can see heavier ash particles raining downward, which I painted with a small, hard brush in Photoshop. By contrast, the less volatile Hawaii eruption emits ground-hugging, toxic smoke that is a health hazard. I painted white tones with a soft brush at low opacity to dissipate the plume downwind of its origin in Kilauea Caldera. |
||||||||||
 |
||||||||||
Eruptions at locations 4,000 km apart created from the same doctored photograph. |
||||||||||
Waterfall mist and steaming vents are other embellishments that you can easily paint in Photoshop (see examples below). Start by creating a new empty layer above your terrain art. Select the brush tool, a soft brush, and white as the foreground color. Set the brush opacity to about 10 percent. Then begin dabbing, slowly building up the white density until you are satisfied with how it looks. If you mess up, delete what you did and try again—it only takes a minute or two to do. The Haleakala map (below, left) also includes a surf line created by dabbing with a hard brush with bristles (one of Photoshop's defaults). Apply more surf to exposed headlands and less to sheltered bays and lee shores. Surf lines are usually irregular, so it is okay to paint a little sloppily. |
||||||||||
 |
||||||||||
(left) Waterfalls and surf, Haleakala National Park, Hawaii. (right) Steam vents, Katmai National Park, Alaska. |
||||||||||
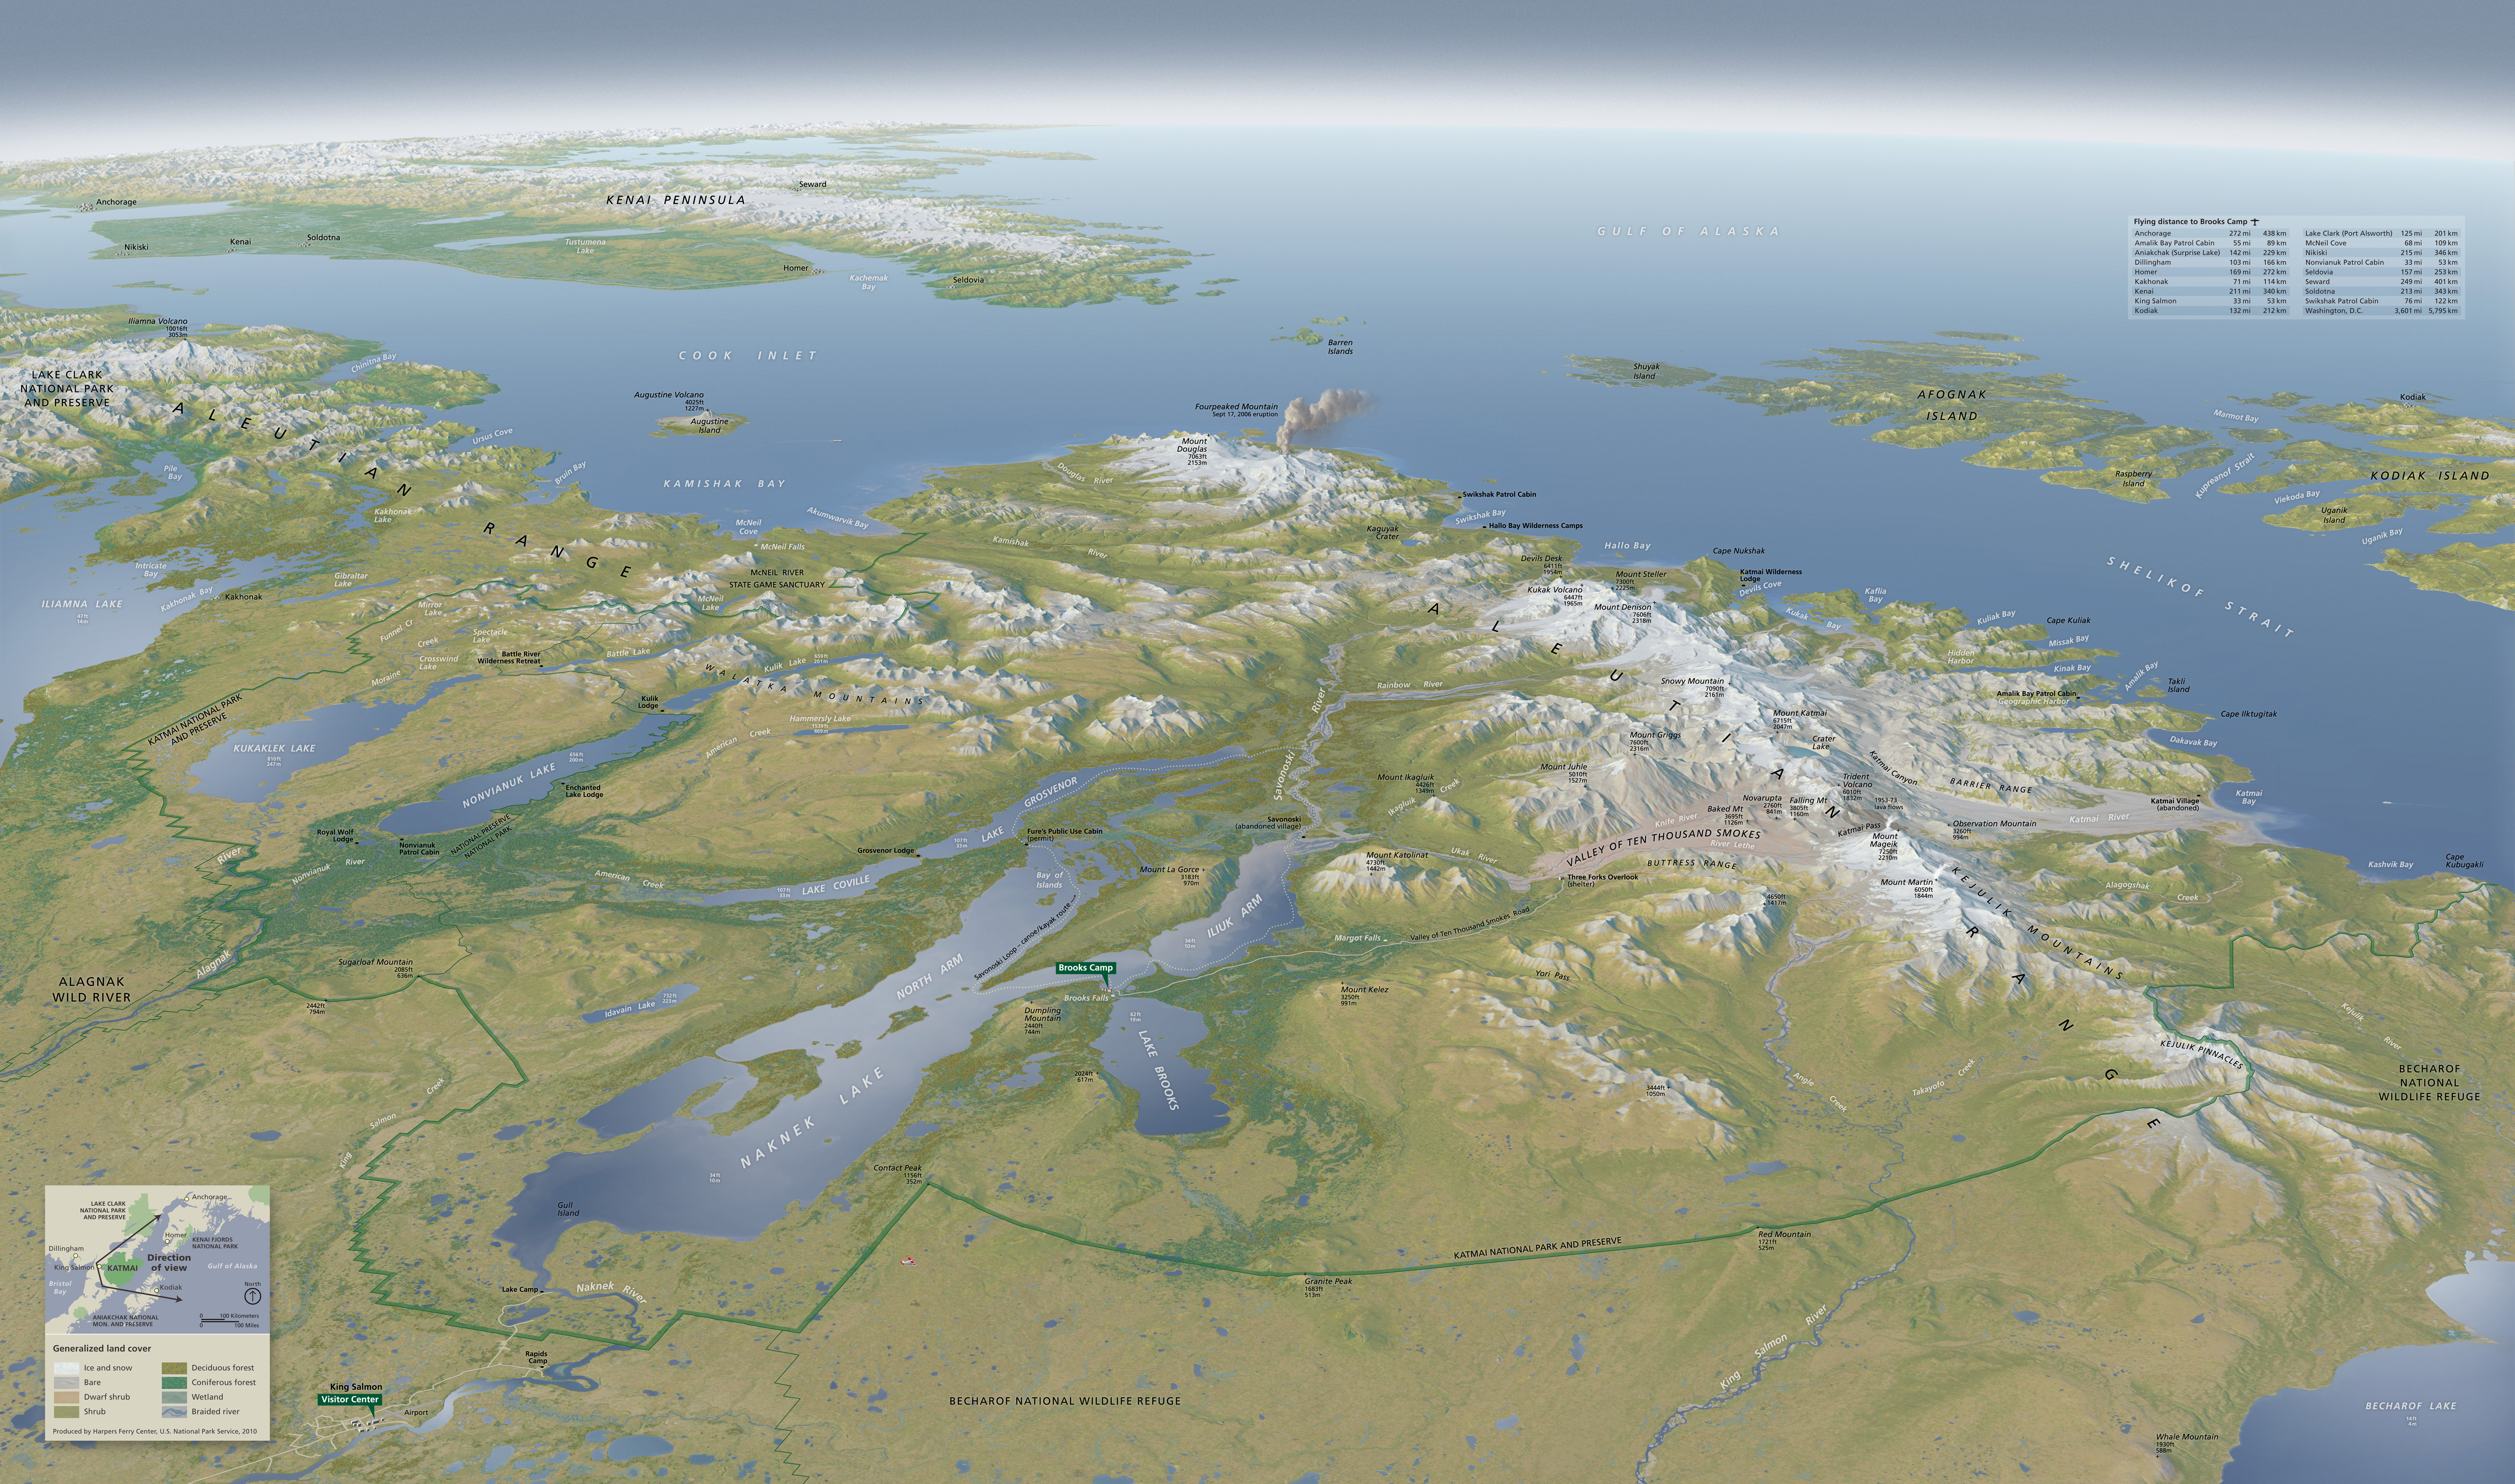
Map embellishments can include more than the gaseous and liquid effects just described. I like to depict towns and cities with clusters of gray cubes meant to resemble distant buildings (see illustration below, left). The building cubes, rendered in Sketchup software, appear on my maps as hugely exaggerated in size. Preferring tidiness, I place buildings only in the central business districts, ignoring suburban sprawl. I occasionally hide "Easter eggs" in my scenes. The middle image below shows a cruise ship and trailing wake off the Katmai coast (originally a photograph of the MS Volendam taken in Glacier Bay). The right image depicts a de Havilland Beaver float plane (the aircraft used by Katmai National Park) casting a shadow on the tundra of southwest Alaska. |
||||||||||
 |
||||||||||
Sharp-eyed readers can find buildings, a boat, and a float plane on the map of Katmai National Park, Alaska. (Click image to check out the map.) |
||||||||||
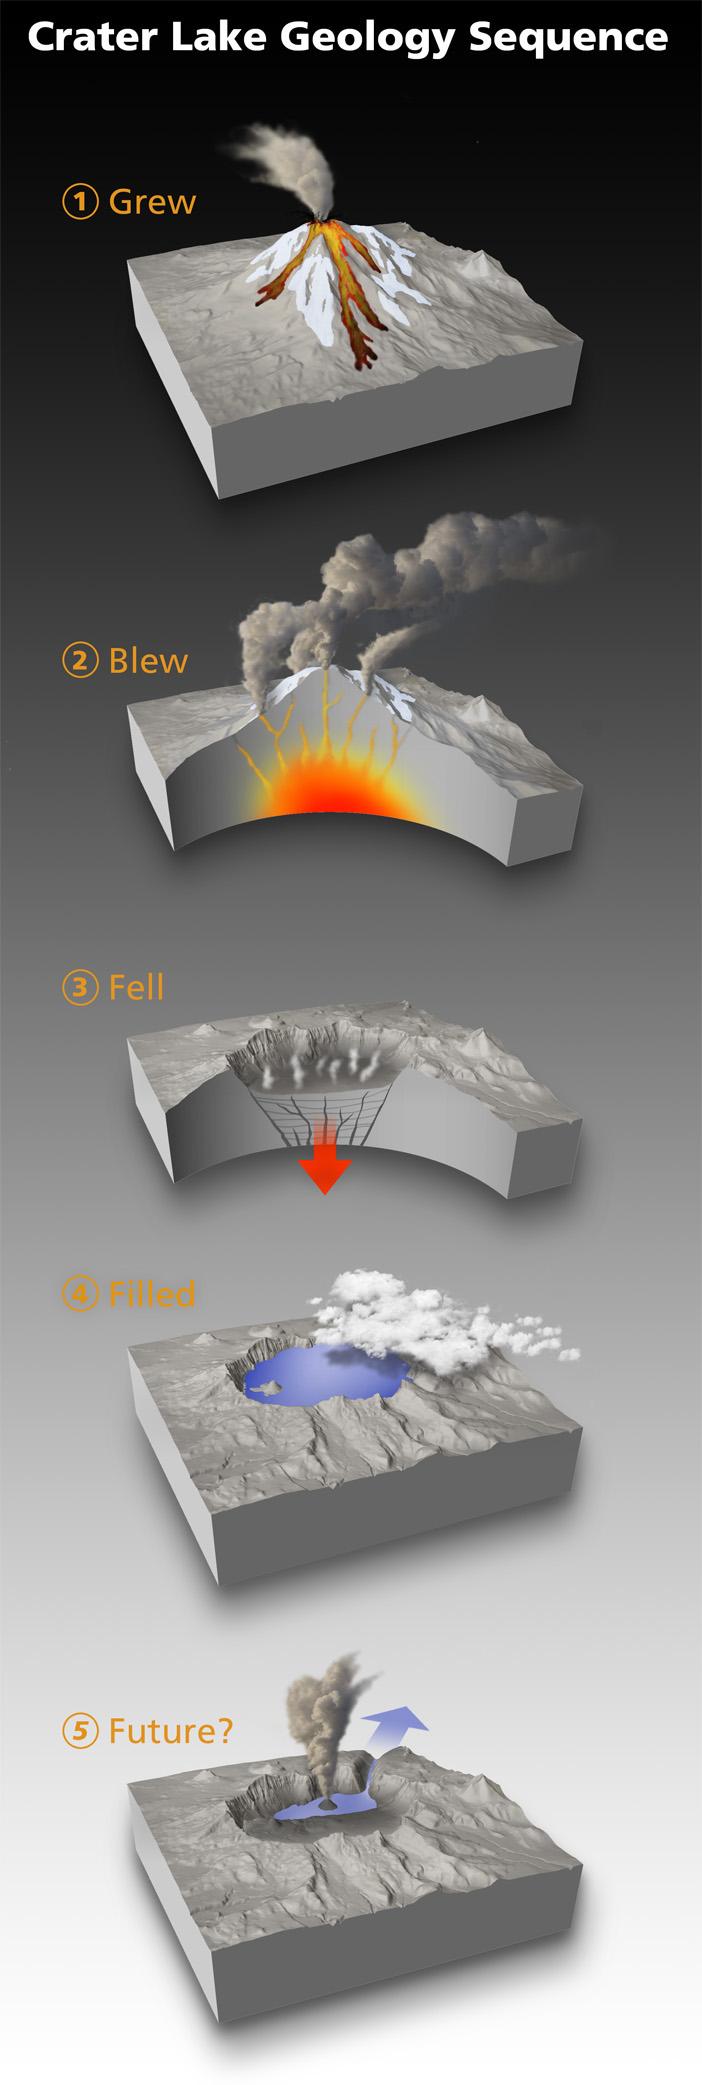
Natural history diagrams are the type of 3D terrain maps that I embellish most heavily (see the Crater Lake Geology Sequence below). Although diagrams like this are better described as illustrations than maps, and beyond the scope of this tutorial, they nevertheless deserve brief mention. With the techniques described above and practice, you can create similar natural history diagrams from rendered 3D terrains. I recommend using a Wacom tablet for Photoshop painting. |
||||||||||
 |
||||||||||
Embellished 3D terrains telling the Crater Lake geologic story—past, present, and future. |
||||||||||
 |
||||||||||