Making 3D Terrain Maps |
||||||||||
--Draped Images |
||||||||||
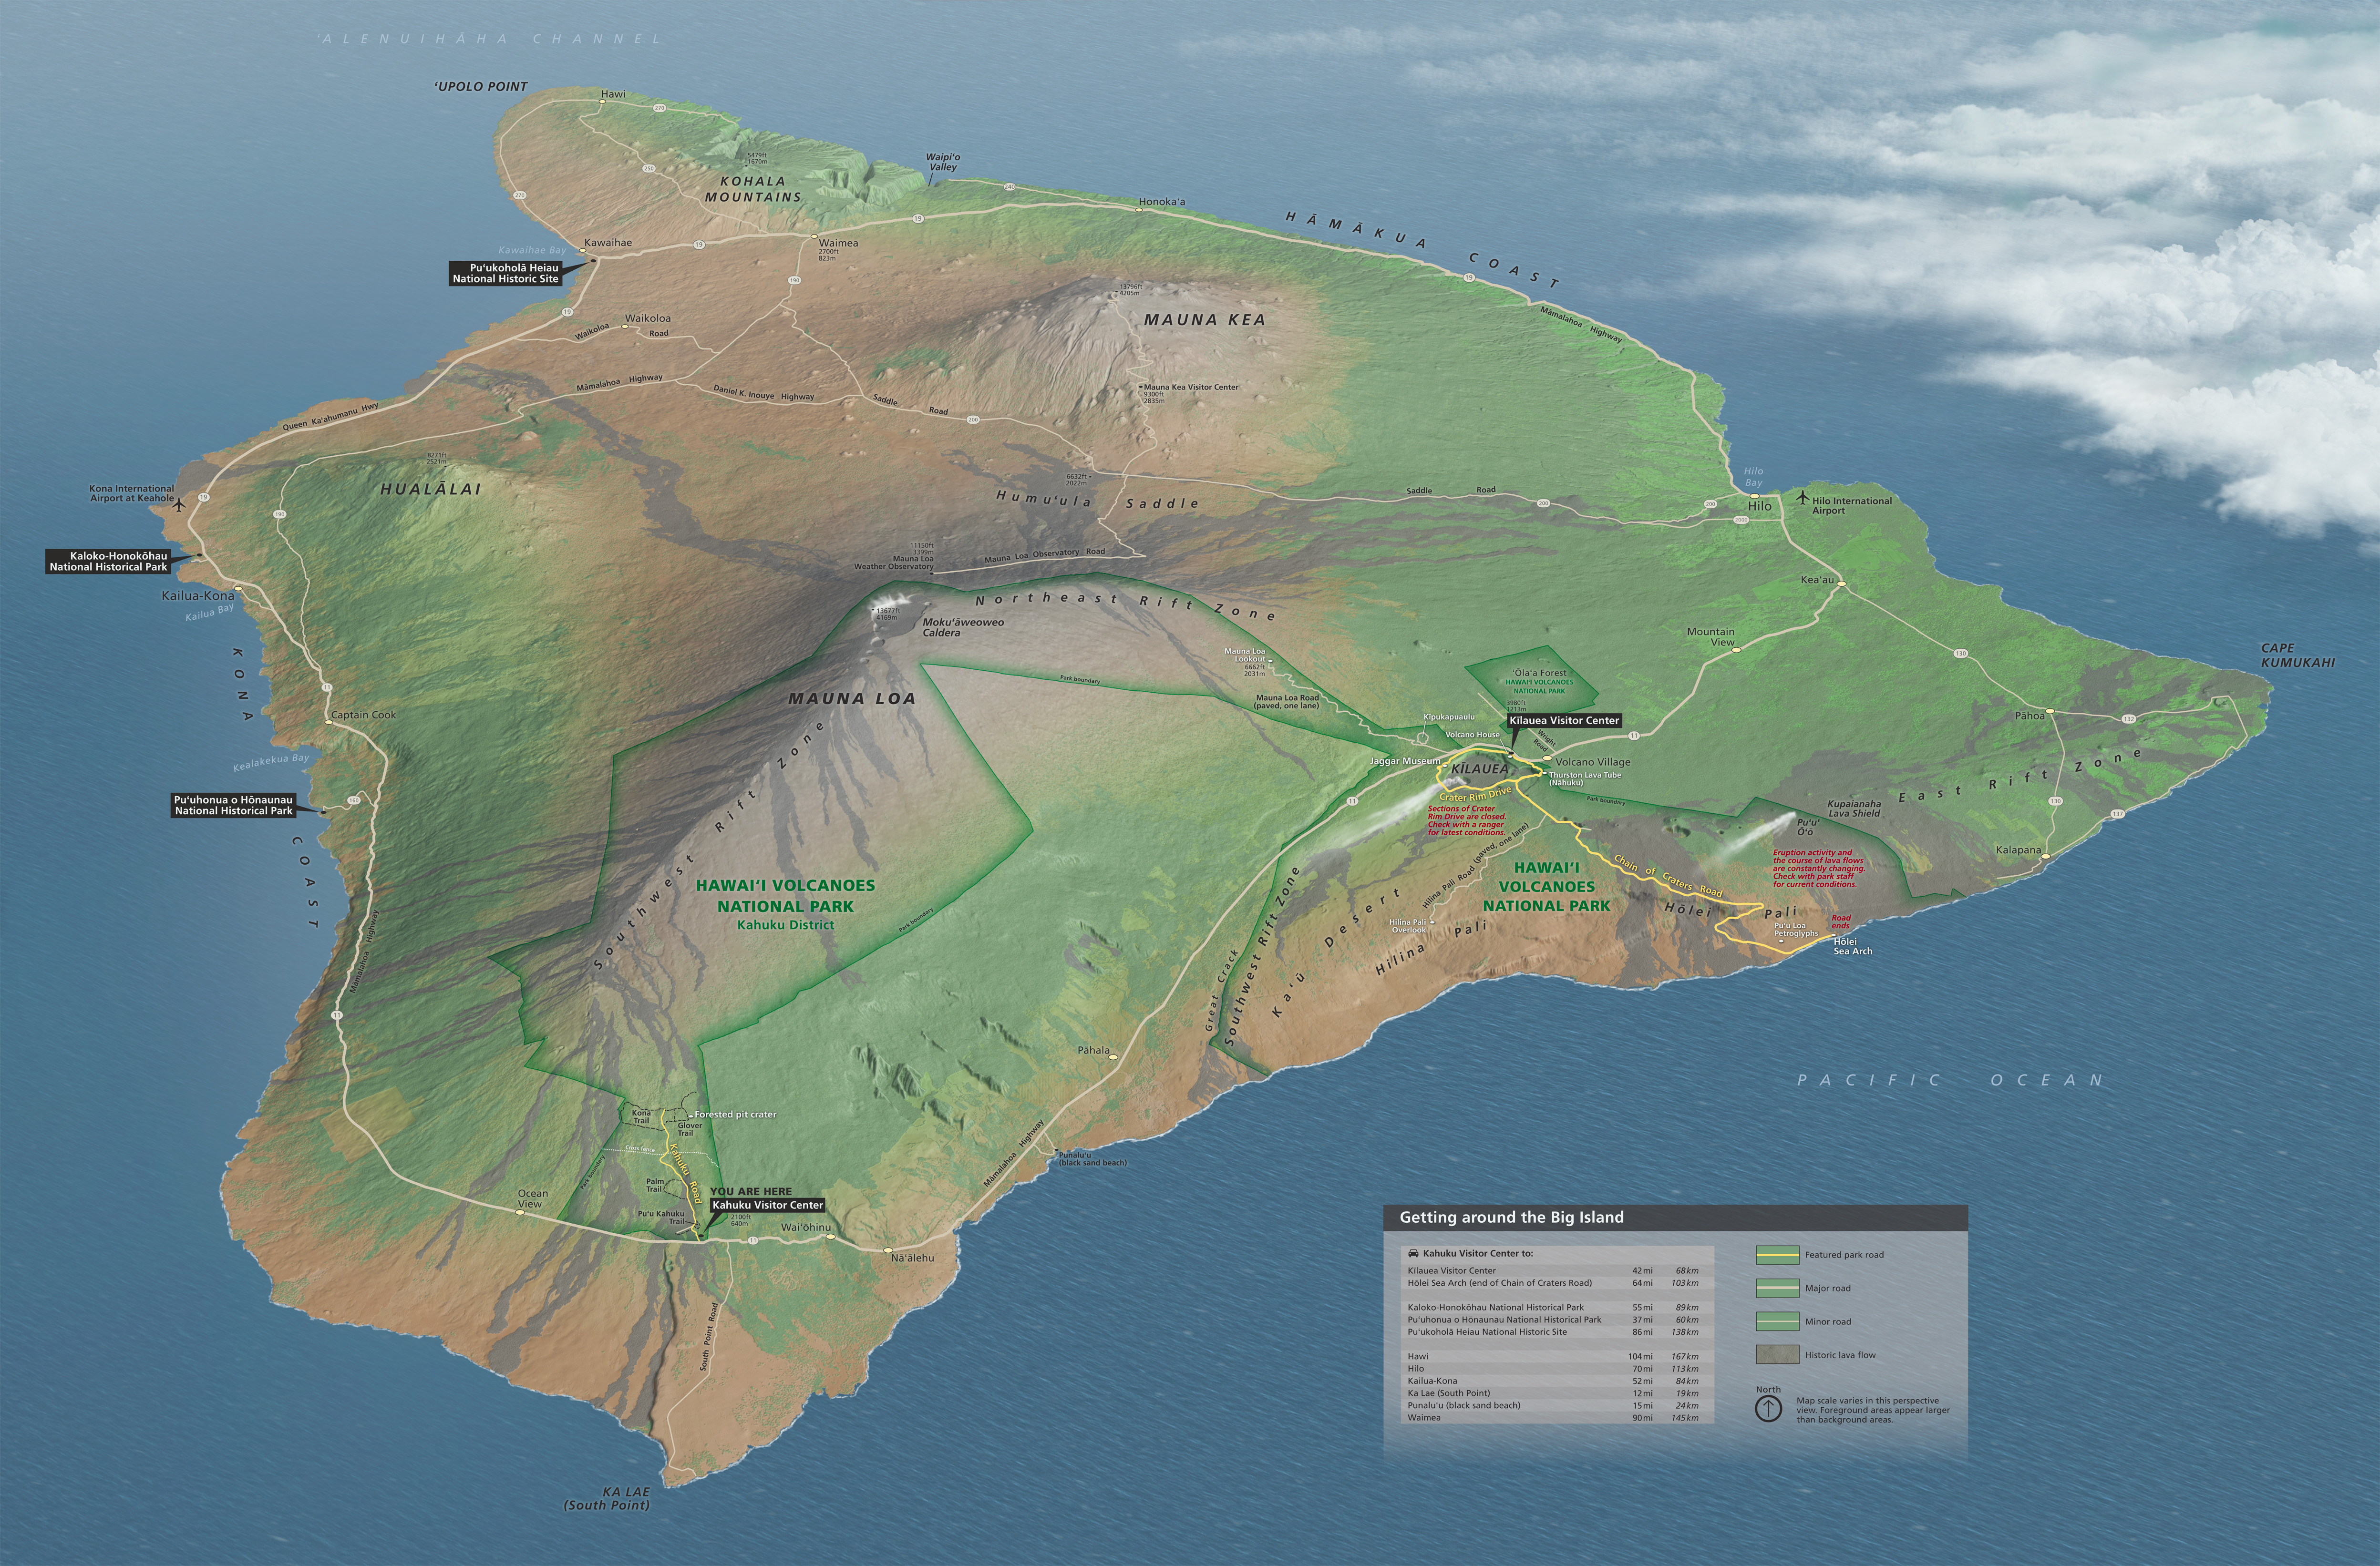
As any user of Google Earth knows, it is common practice to drape aerial photographs and satellite images on 3D terrains. Under ideal circumstances, these draped images can treat the user to a beautiful view almost as realistic as that from an aircraft. Most of the time, however, the results are less than ideal. The vibrant colors on draped images sometimes conflict with the terrain below, obscuring topographic details. Embedded cast shadows limit the camera direction for viewing a scene, usually south to north for in the northern hemisphere. Or draped images contain ugly, hard-to-ignore features that you do not want show in your scene, such as clear-cut forests, power lines, and open-pit mines. I spend more time remedying flawed aerial images than other task associated with 3D terrain mapping. I will next discuss preparation of the draped image on the Hawaii scene below, which I produced concurrent to writing this tutorial, hence its use as a frequent example. Before getting to that, first some good news: it is easy to drape a georeferenced image on a georeferenced terrain in Natural Scene Designer Pro. With your terrain loaded, go to Overlays/Import Georeferenced Image and select the image that you want to drape. Provided that the terrain and aerial image overlap geographically, the program will automatically drape the image on the terrain, even if the map projections are different. |
||||||||||
 |
||||||||||
The Big Island, Hawaii, featuring a custom-produced draped image. (Click map to enlarge.) |
||||||||||
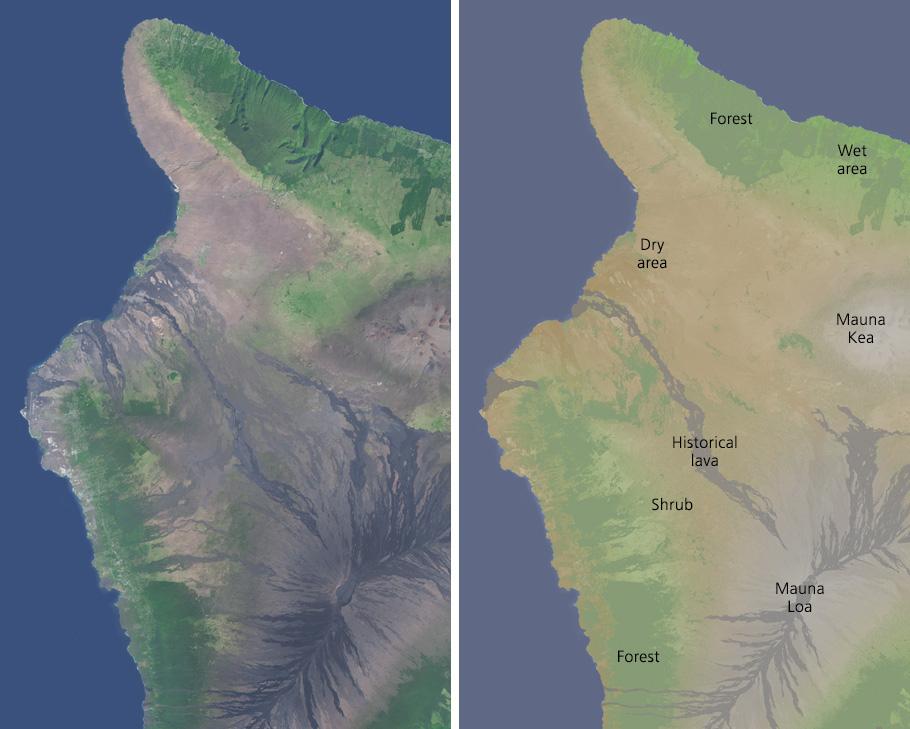
Draped image preparation For the Hawaii scene, I produced a natural-color Landsat 8 mosaic at 15-meter resolution (see image below, left). Because of the persistent cloud cover in the tropics, I needed 15 separate Landsat images to complete the mosaic, which added up to tens of gigabytes of data. I accomplished this work in Adobe Photoshop in conjunction with the Geographer Imager GIS plug-in, which maintained georeferencing. I had hoped to use the Landsat mosaic as the draped image, but it proved unsatisfactory. The lava flows that comprise the entire Big Island looked too cold and austere, especially at higher elevations. Elsewhere the blotchy, sharply delineated forest areas conflicted with the terrain underneath it. Because the final map was intended to also show roads and labels, I needed a softer image to drape on the terrain. Creating this entailed a lot of work. First, I applied a levels adjustment to the Landsat mosaic that greatly reduced the contrast. The result was a much flatter image with a ghosted hint of the original detail. Next, I used a Hue/Saturation adjustment (one of my favorite Photoshop techniques) to tint the entire image to tawny beige, similar to that described here. Because large areas of the Big Island are not arid, I had to apply additional Hue/Saturation adjustments to depict these areas with appropriate natural colors. With the Lasso Tool, I drew feathered selections over the lofty summits of Mauna Loa and Mauna Kea, which I tinted gray. I also lightened the summits slightly to make them appear graphically higher. I repeated this technique to tint wetter parts of the Big Island light green. After making these changes the image certainly looked softer and lighter, if not a bit boring. To depict forest and shrub zones better, I imported raster land cover data, originally at three-meter resolution, to select and then slightly darken these areas. I then used a vector dataset of lava flow ages, which I rasterized, to call out only the historical lava flows that occurred since 1800. |
||||||||||
 |
||||||||||
(Left) Part of a Landsat 8 mosaic, Big Island, Hawaii. (Right) A custom image created from the Landsat 8 mosaic, plus raster and vector land cover data. |
||||||||||
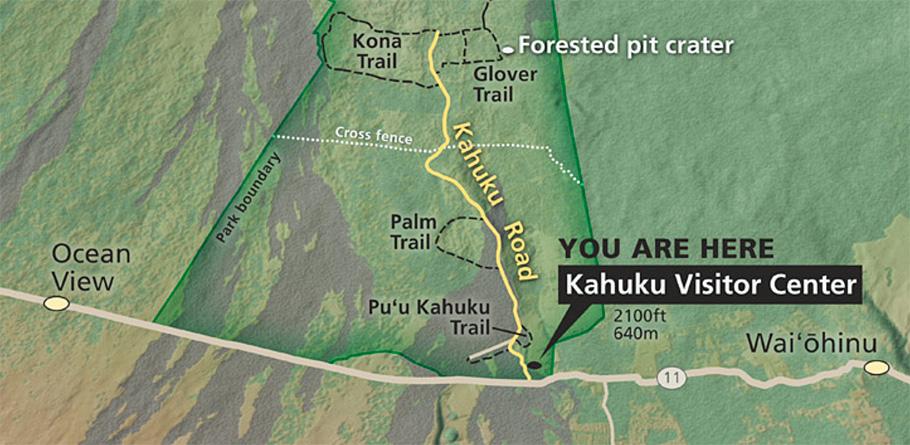
To complete the image, I used Photoshop filters to texture the forest and lava surfaces, and to softly emboss their edges (see detailed enlargement below). Having done this, I now had an appropriate image to drape on the terrain and for rendering the final scene. |
||||||||||
 |
||||||||||
Embossed lava flow and forest textures. |
||||||||||
More information For a tutorial on preparing Landsat 8 images in Photoshop, visit this site. |
||||||||||
 |
||