Sentinel-2 Photoshop Tutorial
In humid regions with heavy vegetation, such as the US Pacific Northwest, premade True Color Images can appear very dark and drab (Figure 7). Also note that the scattered buildings near the center of the scene are pure white. The automated process used to create these images will clip lighter values, which is not always desirable.
We will correct these problems in the three steps discussed below.
Image creation: Friday Harbor
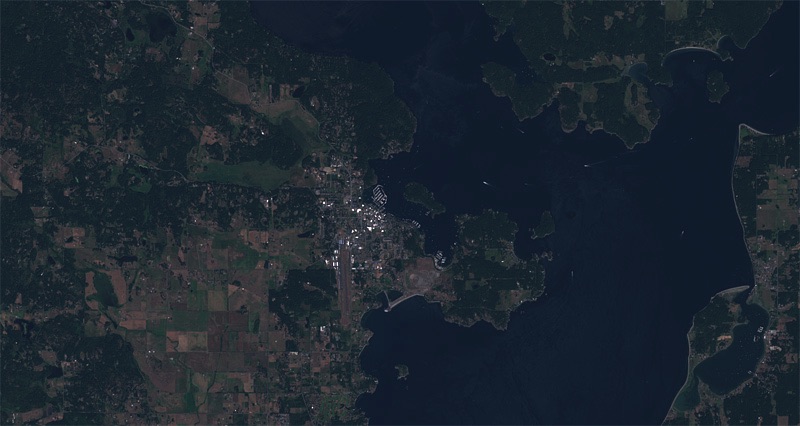
Figure 7. True Color Image centered on Friday Harbor, San Juan Island, Washington State.
Step 1 - Curves

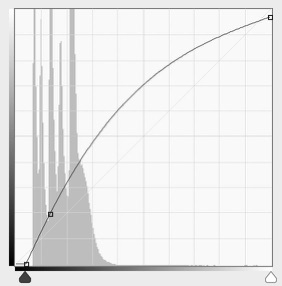
Compared to Levels adjustments that are linear, Curves adjustments are non-linear, giving you more control over discrete portions of the tonal range in an image. They are a little tricky to use at first, but the precise results that you can achieve with this command make learning it very worthwhile.
Figure 8. Friday Harbor image after the curves adjustment.
This is the curve that I used to adjust the Friday Harbor image (Figure 8). The histogram shows the distribution of light and dark values.
Moving the lower-left end of the curve to the right lightened dark trees. Moving the top-right end down added a slight amount of tone to the white buildings. Both of these moves decreased overall contrast.
Finally, I lightened the mid tones by placing an intermediate point near the bottom of the curve and moving it up.
Step 2 - Brighter vegetation
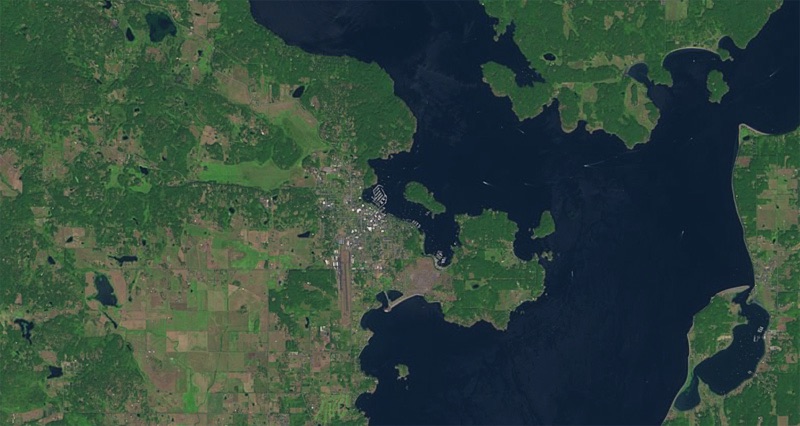
Figure 9. Brighter vegetation resulting from blended images.
The data collected by the Sentinel-2 satellites, which orbit Earth at an altitude of 786 kilometers (488 miles), must penetrate a veil of atmospheric haze. It deadens the color of vegetation, especially needle-leaf forest. The effect are colors on the satellite image that do not match the colors that people see when in a landscape.
One way to partially correct for this is by using the curves command to adjust the red, green, and blue channels separately. It is difficult to do.
A much easier solution is to download the Full Resolution Browse image from the EarthExplorer website and merge it with the True Color Image (Figure 9).
Because the True Color Image has a spatial resolution of 10 meters and the Full Resolution Browse image is 20 meters, the first thing that you will need to do is upsample the Full Resolution Browse image.
Procedure
A) In Photoshop, go to Image/Image Size ...
B) In the Image Size window, make sure to check the Resample box and select Preserve Details (enlargement) as the resampling method.
C) Increase the width and height by 200 percent.
D) Copy and paste the upsampled image as a new layer on top of the True Color Image.
E) Change the layer blending mode to Soft Light and adjust the layer opacity until you are pleased with the results. Because the Full Resolution Browse image is very gaudy, I usually set the layer opacity to 50 percent or lower.
Note: Blending the coarser resolution Full Resolution Browse image with the finer True Color Image does not noticeably diminish the combined image resolution.
Step 3 - Blue water
The vegetation brightening technique also influences the color of water bodies. In this final step, we will shift water bodies to a more attractive blue and diminish reflections, wind riffles, and sediment plumes (Figure 10). The technique involves adding a flat blue layer with an accompanying water layer mask in Photoshop.
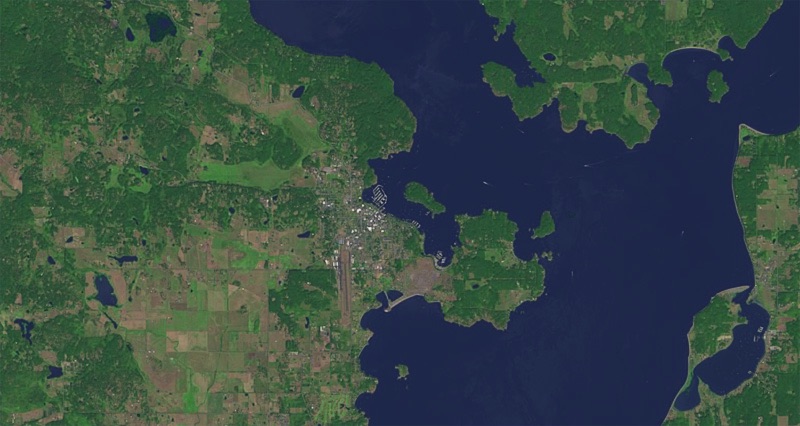
Figure 10. Final image with water adjustments.
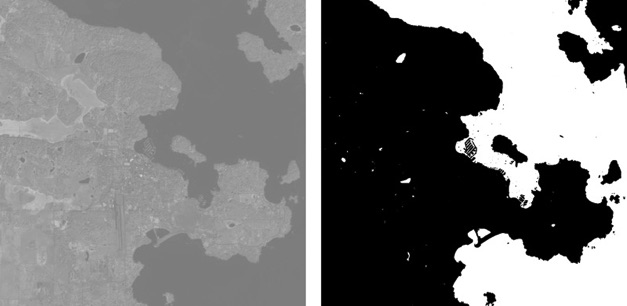
We will create the water layer mask from band 8. It contains data from the near infrared section of the spectrum that clearly delineates water and land areas. Applying a steep curves adjustment to band 8 will compress the tonal range, which when inverted, results in a high-contrast land-water mask (Figure 11). The trick is to adjust the curve in such a way so that it minimizes blemishes in the water and shadows on the land. You will sometimes need to manually touch up the mask.
Figure 11. Choking band 8 (left) to create a water mask (right). The water is white.
When the water mask is ready, copy it to the computer clipboard. Next, go back to the True Color Image and create a new topmost layer and add a layer mask. Then paste the water mask into the layer mask. You can then fill the water layer with whichever flat blue that you like. Finally, partially decrease the opacity of the flat blue layer to reveal any sediments or reflections that may exist in satellite image.
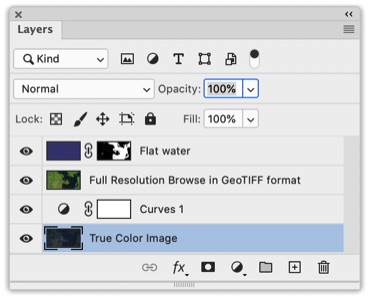
The layers used to produce the final Friday Harbor image.
Click here to download the Photoshop file (14.6 MB)